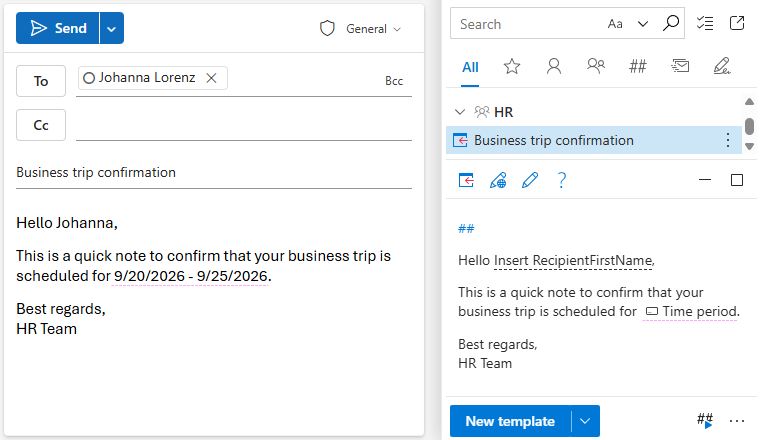
Add a date range to an Outlook email from a template
If you need a dynamic date range that updates automatically each time you use your Outlook email template, follow these steps:
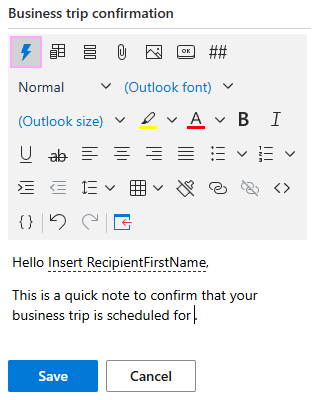
Start creating or editing your template and put the cursor where a date range is needed.
On the template editor toolbar, click the Insert macro button.
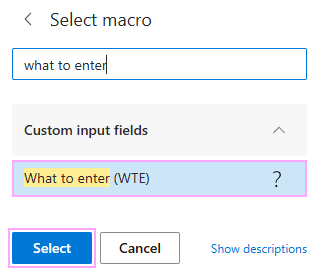
Select What to enter (WTE).
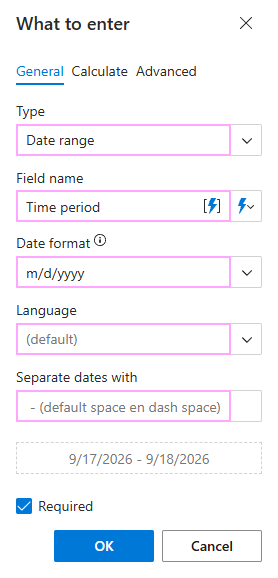
On the General tab in the What to enter dialog:
- Select Date range.
- Enter the field name.
- Select a date format.
- Select a language.
- Enter the character or characters you want to use to separate the start and end dates. By default, the dates are separated by an en dash with a space on each side.
On the Calculate tab, configure how the start and end dates are calculated. For example, if you want to confirm the dates of a business trip that starts 3 days after you use the template and ends 5 days later, do the following:
- Set Default start date to forward from today by 3 days.
- Set Default end date offset to 5 days.
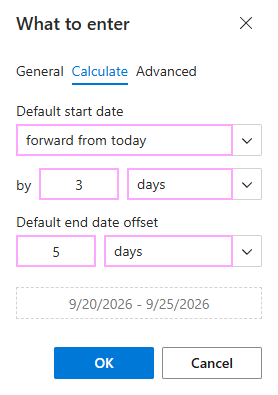
On the Advanced tab, you can specify:
- The value to insert into the email if the macro returns a non-empty result.
- The value to insert into the email if the macro returns an empty result.
- The regular expression that the value selected in the macro dialog must match.
When you’re ready, click OK.
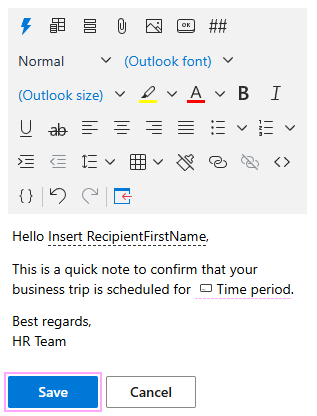
A placeholder for the date range appears in the email template. When you’re done with the template, click Save.
After you click the Insert button to use the template in an Outlook email, a dialog appears with the suggested date range. You can keep it as is or change the start and end dates using the calendar in the dialog. To insert the template, click OK.
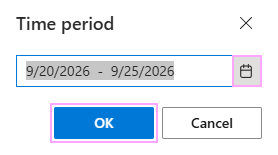
Your email message is ready to be sent with the specified date range.